Creating New Tasks
Note: You can add to task from any section within the PaperFree application. In the example here, the Fleet Maintenance section is used as reference. The procedure to add to task remains the same for all sections, wherever applicable, within the PaperFree application.
To add to task, follow the steps given below.
1. Navigate to the Fleet Maintenance option in the Side Bar.
The Fleet Maintenance page will be displayed.
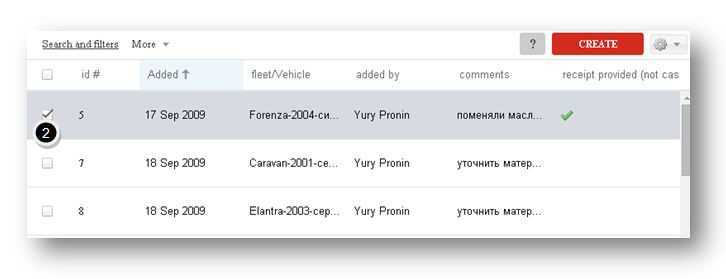
2. Click on the row of the record that you wish to add to task.
The details of the record will be displayed on the edited mode.
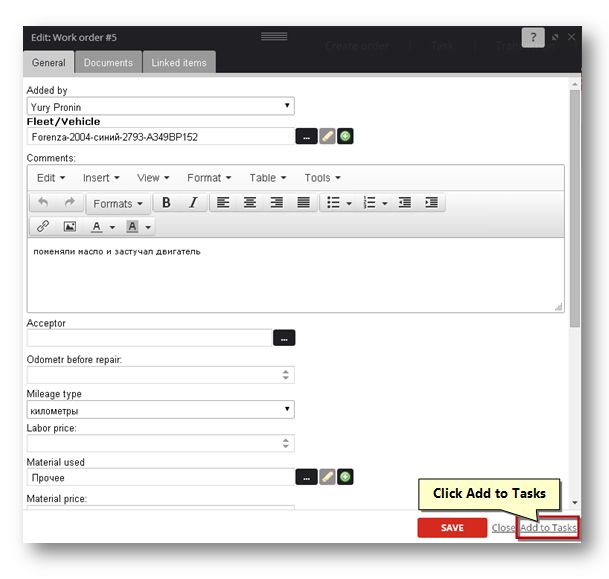
3. Click the Add to Tasks button.
The Create Task page will be displayed.
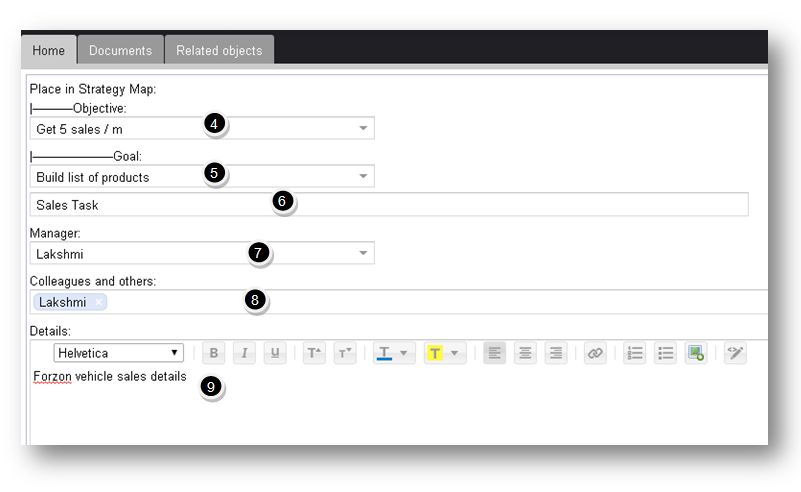
4. Select the objective of the task from the Objective drop down list.
5. Select the goal of the task from the Goal drop down list.
6. Enter the name of your task in the text entry box.
7. Select the name of the manager responsible for the task, from the Manager drop down list.
8. Select the name of the colleagues and others involved in the task, from the Colleagues and Others drop down list.
9. Enter the details of the task in the Details text entry box.
Scroll down for more options.
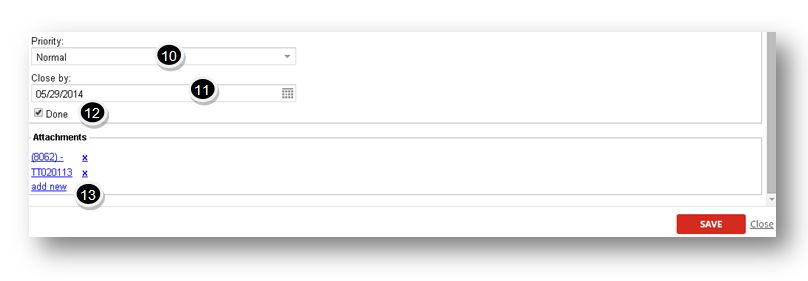
10. Select the priority of the task from the Priority drop down list. The available options are Normal, Low and High.
11. Select the date of closing of the task from the Close by calendar.
12. Specify whether the task is completed or not, by checking or un-checking the box in the Done field.
13. In the Attachments section, add any file/links related to the task by clicking the Add New link.
The dialog to add an attachment will be displayed.
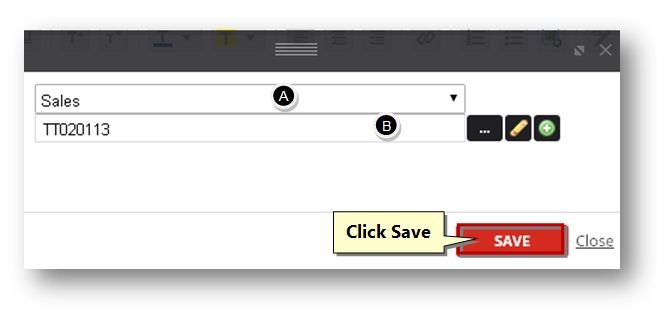
A. Select the type of the object that you wish to attach/link, from the drop down list. The available options are Sales, Vehicle, Client, Call, Task, Invoice, Payment, Material and File.
B. Select the name of the object by clicking the Browse (![]() ) button.
) button.
The related page will be displayed based on the selected criteria.
C. Select the object that you wish to link and click the Select button.
The selected object will be added to the section.
D. Click the Save button.
14. Navigate to the Documents tab.
The Documents section of the screen will be displayed.
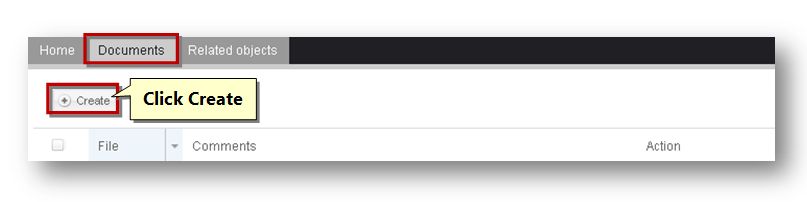
15. To create a new document, click the Create button.
The Upload File page will be displayed.
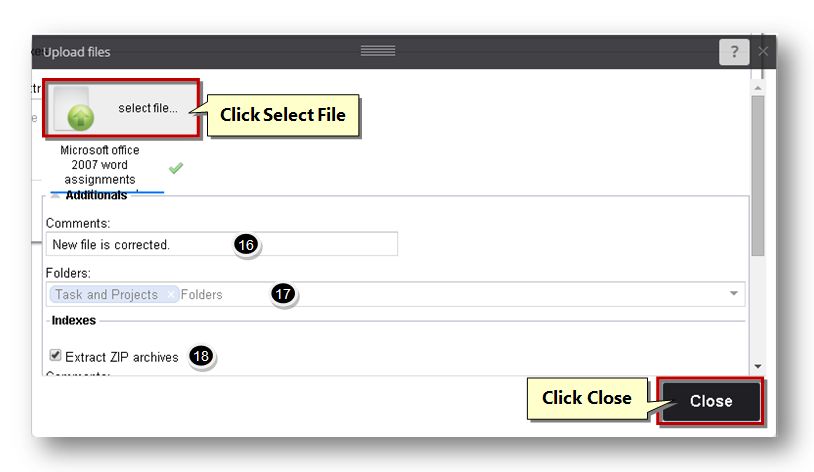
16. Enter the comments if any, in the Comments text entry box.
17. Select the folders from the Folders drop down list.
18. In the Indexes section, specify whether you wish to extract zip archives or not by checking or un-checking the Extract ZIP Archives option.
19. Click the Select File button.
The standard Open dialog will be displayed.
20. Select the file that you wish to upload and click the Open button.
The selected file will be uploaded to the Upload Files section.
21. Click the Close button.
22. Navigate to the Related Objects tab.
The Related Objects section of the screen will be displayed.
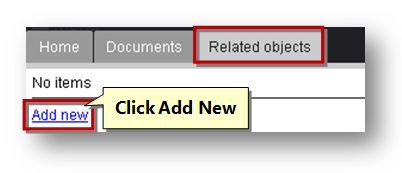
23. Click the Add New link to add new related objects.
The Link Item section of the page will be displayed.
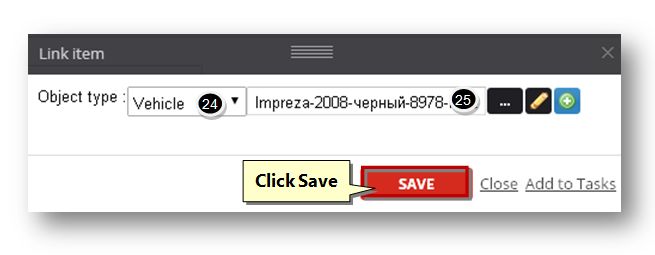
24. Select the type of the object from the Object Type drop down list. The available options are Sales, Vehicle, Client, Call, Task, Invoice, Payment, Material and File.
25. Select the name of the object by clicking the Browse (![]() ) button.
) button.
The related page will be displayed based on the selected criteria.
26. Select the object that you wish to link and click the Select button.
The selected object will be added to the field.
27. Click the Save button.
The selected object will be linked.
28. Click the Save button.
The task will be assigned.
Sponsored from PaperFree Magazine:
.jpg)
Real Estate Investment Principles by Billionaire Bruce Flatt
Copyright © 2022 PaperFree.com Inc. All rights reserved and data products are owned and distributed by PaperFree.com Inc. and its subsidiaries. | About | Feedback | All Contacts | ID: 979-446-8934 S/N 78675-0 | SID 487999-3 | Version 5.2 Powered by PaperFree.com | Legal